1080p vs 4K Screen Recording: Which Should You Use?
Compare 1080p and 4K screen recording for YouTube, product demos, websites, and async video, with practical capture and export recommendations.
Key Takeaways
- Separate capture from export resolution. Record enough source detail for editing, then choose the finished resolution for where people will watch.
- Use higher-resolution capture for zooms and crops. A 4K or native-resolution source preserves more detail when you reframe the interface after recording.
- Match the export to the destination. YouTube may benefit from 1440p or 4K, while websites and internal updates are usually better at 720p or 1080p.
- Do not upscale to invent detail. Turning a soft 1080p source into a 4K file does not restore pixels that were never captured.
Choosing between 1080p and 4K screen recording is not as simple as picking the higher number.
For most screen recordings, the better rule is:
Capture for flexibility. Export for where the video will be watched.
A 4K recording can give you more room to zoom, crop, and reframe. But exporting everything in 4K can mean larger files, longer exports, slower uploads, and unnecessary bandwidth.
TL;DR
- YouTube tutorials and polished product demos: Capture at your display's native resolution when possible. Export at 1440p or 4K when visual clarity matters.
- Most everyday screen recordings: 1080p is more than enough.
- Website and landing-page videos: Capture high, then export a compressed 720p or 1080p version.
- Loom, Slack, and internal updates: Stick with 1080p unless viewers genuinely need to inspect tiny UI details.
- If you plan to zoom or crop after recording: Higher-resolution capture is much more useful than simply exporting at a higher resolution.
Capture resolution vs. export resolution
This is the distinction that matters most.
Capture resolution is the amount of detail your screen recorder saves from the original screen.
Export resolution is the resolution of the finished video you render and share.
They do not have to be the same.
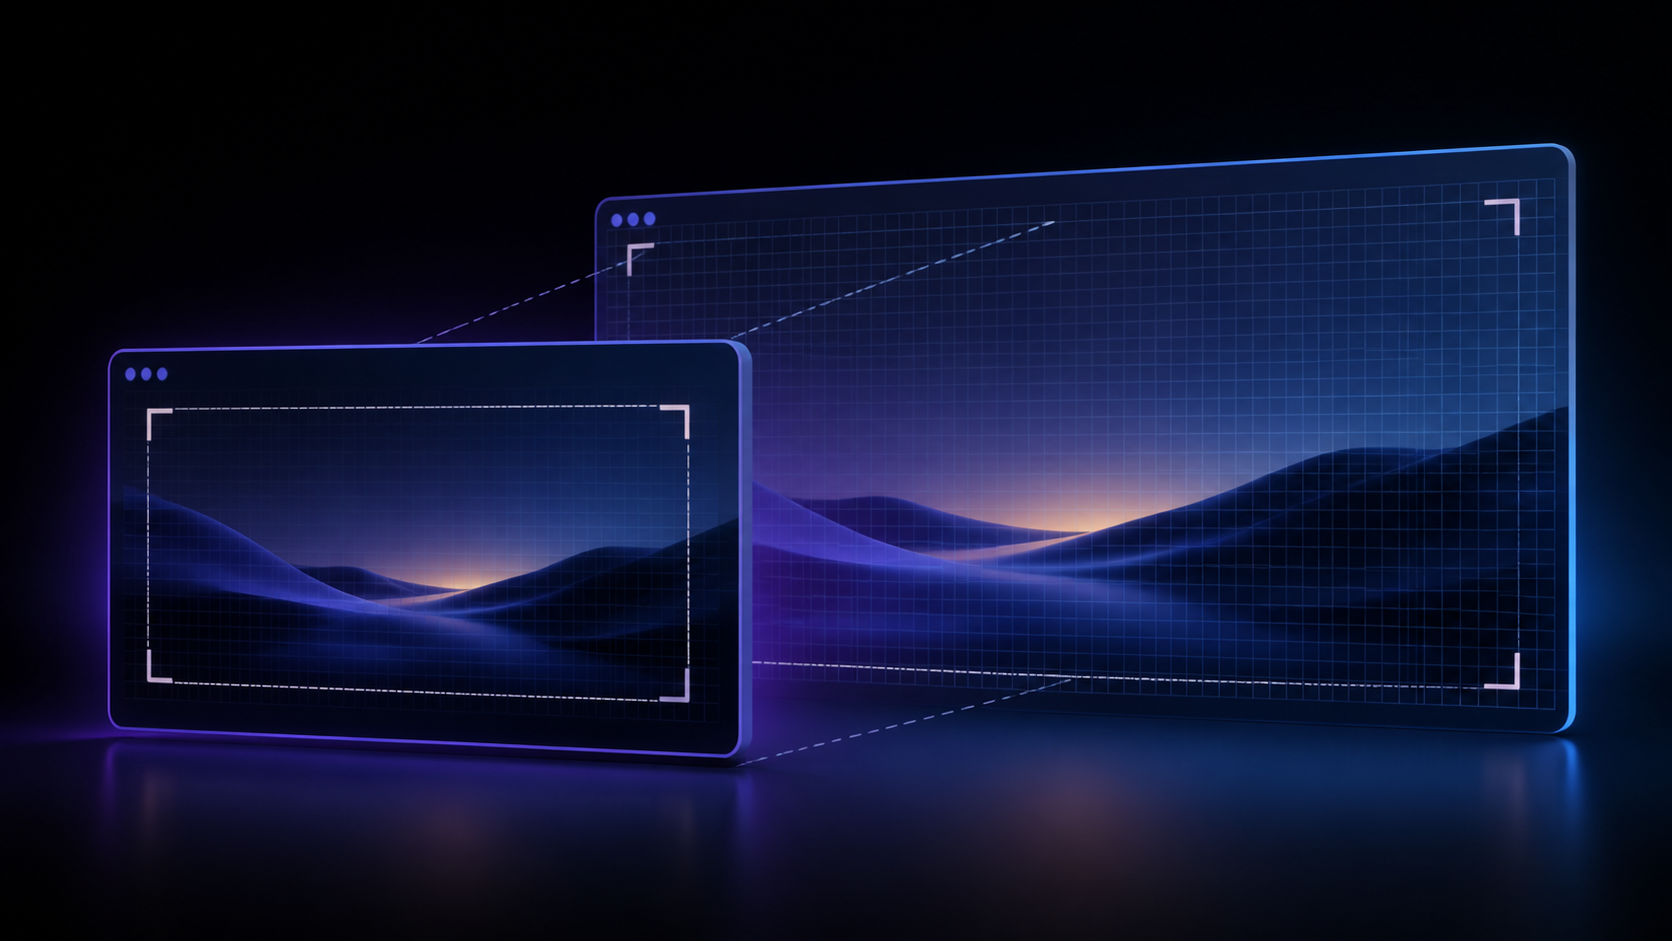
For example, you can capture a 4K display and still export the finished video at 1080p. That higher-resolution source gives the editor more pixels to work with when you crop or zoom into part of the interface.
Imagine recording a 4K desktop and later zooming into an area roughly one-quarter of the screen. That area still contains around enough source pixels to fill a 1080p frame without having to enlarge a tiny 1080p crop.
That is one of the strongest reasons to record at your native display resolution when your recorder and hardware can handle it.
If you record at 1080p and later zoom heavily into a button, code editor, dashboard, or small piece of text, those pixels have to be enlarged. The result can look noticeably softer.
Think of capture resolution as your editing headroom, not necessarily your delivery resolution.
Raw capture vs. smart screen editors
The right resolution also depends on what kind of screen recorder you use.
Raw screen recorders
Tools such as OBS Studio are primarily built around capturing and compositing sources into a defined video canvas.
OBS separates its base canvas resolution from its output resolution, allowing you to capture a high-resolution source while scaling the final recording or stream to another resolution.
This works extremely well for:
- Live streaming
- Gameplay
- Long recordings
- Performance-sensitive workflows
- Footage that will later be edited in Premiere Pro, DaVinci Resolve, or another video editor
But once the recording is finished, OBS itself is not designed as a post-recording screen-video editor where you can go back and dynamically rebuild zooms, cursor movement, framing, and layouts.
If you want those effects, you generally handle them in another editor. For a fuller comparison, see our guide to an OBS alternative for Windows.
Smart screen recording editors
Tools such as Screen Studio on macOS and Pane Studio on Windows take a different approach.
They combine screen recording with editing features designed specifically around screen content.
Screen Studio, for example, supports automatic zooming around recorded clicks, manual zooms, cursor smoothing, and post-recording aspect-ratio changes.
Pane Studio provides a similar screen-recording workflow on Windows, with auto zoom, smooth cursor movement, cropping, layouts, and post-recording editing before export.
This changes how you should think about resolution.
Instead of treating the recorded frame as the finished composition, you can:
- Zoom into a section after recording
- Reframe the screen
- Crop unnecessary UI
- Change the canvas or aspect ratio
- Make cursor movement easier to follow
- Export different versions from the same recording
For this workflow, capturing more source detail is particularly valuable because the final framing might not be decided until after you finish recording.
Should you export screen recordings in 1080p or 4K?
That depends almost entirely on where the finished video is going.
YouTube and video platforms
For YouTube tutorials, product walkthroughs, development videos, and other content where small text matters, 1440p or 4K can be worth exporting.
YouTube accepts high-resolution uploads and publishes higher recommended upload bitrates for 1440p and 4K than for 1080p. That can make higher-resolution delivery useful for UI-heavy content where compression artifacts around the following are especially noticeable:
- Text
- Code
- Icons
- Thin borders
- Small interface elements
One common piece of advice is to upload 1440p or 4K specifically to “force” YouTube to use VP9 or AV1. Treat that as a workaround rather than a guarantee: YouTube does not publicly promise a specific playback codec simply because a video was uploaded at a particular resolution.
Practical recommendation: If your source is already high resolution and export time or upload size is not a concern, 1440p or 4K is a good choice for important YouTube videos.
Do not upscale a poor 1080p recording to 4K expecting new detail to appear.
Websites and landing pages
A landing-page product demo has completely different requirements.
Here, file size and playback speed usually matter more than maximum pixel density.
Smaller video files can begin playback sooner and require less data to transfer, which is especially important for videos embedded directly into webpages.
For most website demos:
- 720p works well for smaller embedded videos.
- 1080p is better when UI text needs to remain readable.
- Avoid serving 4K unless users genuinely benefit from it.
Compression matters just as much as resolution.
You might deliver H.264 video inside an MP4 file, or VP9/AV1 video using a web-friendly container such as WebM depending on your browser-support requirements. WebM itself is a container, not a codec; for example, a WebM file can contain VP9-compressed video.
A useful workflow is therefore:
Capture at high quality → edit at full quality → create a smaller web-specific export.
Team communication and async video
For Slack messages, Loom-style recordings, bug reports, support replies, and internal updates, 4K usually adds very little value.
The person watching probably wants the answer quickly, not a cinema-grade master file.
In most cases:
Capture at 1080p or higher → export at 1080p.
You should consider 4K only when viewers need to inspect:
- Detailed design work
- Large spreadsheets
- Dense dashboards
- Code with very small text
- High-resolution visual assets
Otherwise, 1080p keeps the workflow faster and the files easier to share.
1080p vs. 4K screen recording: quick decision matrix
| Use case | Recommended capture | Recommended export | Ideal tool type |
|---|---|---|---|
| YouTube tutorial | Native display / 1440p / 4K | 1440p or 4K | Smart editor or raw recorder |
| Product demo | Native display / 4K | 1080p–4K | Smart screen editor |
| SaaS landing-page video | Native display / 1440p / 4K | 720p or compressed 1080p | Smart screen editor |
| Coding tutorial | Native display / 1440p / 4K | 1080p–4K | Smart editor |
| Slack / async update | 1080p or native | 1080p | Lightweight recorder |
| Bug report | 1080p or native | 1080p | Lightweight recorder |
| Live streaming | 1080p or native | Usually 1080p | Raw recorder such as OBS |
| Video for later editing | Native display resolution | Depends on final delivery | Raw recorder + video editor |
So, is 4K screen recording worth it?
Yes, when the extra pixels give you useful editing flexibility.
If you are creating a polished tutorial or product demo and expect to zoom, crop, or reframe the screen, capturing at 4K or your display's native resolution gives you more room to work.
But that does not mean your final video needs to be 4K.
For a website, 720p or 1080p may be the smarter export. For an internal update, 1080p is usually plenty. For a detailed YouTube tutorial, 1440p or 4K may preserve UI detail better after platform processing.
The simplest rule is:
Capture for flexibility. Export for performance.
Keep as much useful detail as you can while recording, then choose the final resolution based on where the video will actually be watched.
Want to capture and polish high-resolution screen recordings on Windows? Try Pane Studio