## Key Takeaways
- [**Auto zoom is mainly about directing attention.**](#auto-zoom-isnt-really-about-the-zoom) It helps viewers see the relevant part of a dense SaaS interface without hunting around the frame.
- [**Use the extra polish where the video represents the product.**](#where-auto-zoom-makes-sense) Landing-page demos, feature announcements, onboarding, documentation, and sales walkthroughs benefit more than quick internal bug reports.
- [**Purpose-built tools replace repetitive editing work.**](#you-can-do-all-of-this-manually) You can animate zooms manually in a traditional editor, but an auto zoom recorder gives you a strong first pass that you can refine.
- [**Good auto zoom should feel quiet.**](#a-good-demo-shouldnt-look-over-edited) Zoom only when it improves clarity, keep the wider context when it matters, and avoid making every click trigger dramatic movement.
If you build a SaaS product, sooner or later you have to show it.
Maybe it is a 30-second feature update for X, a demo on your landing page, a walkthrough for a customer, or just something you want to send to a potential user instead of writing five paragraphs explaining it.
You can hit record, move through the product, and upload the result. That works.
But there is a pretty noticeable difference between a screen recording and a *product demo*.
A plain recording shows everything at once. Your cursor moves around, the browser chrome is sitting there, there is empty space around the important part of the UI, and the viewer has to work out what they are supposed to be looking at.
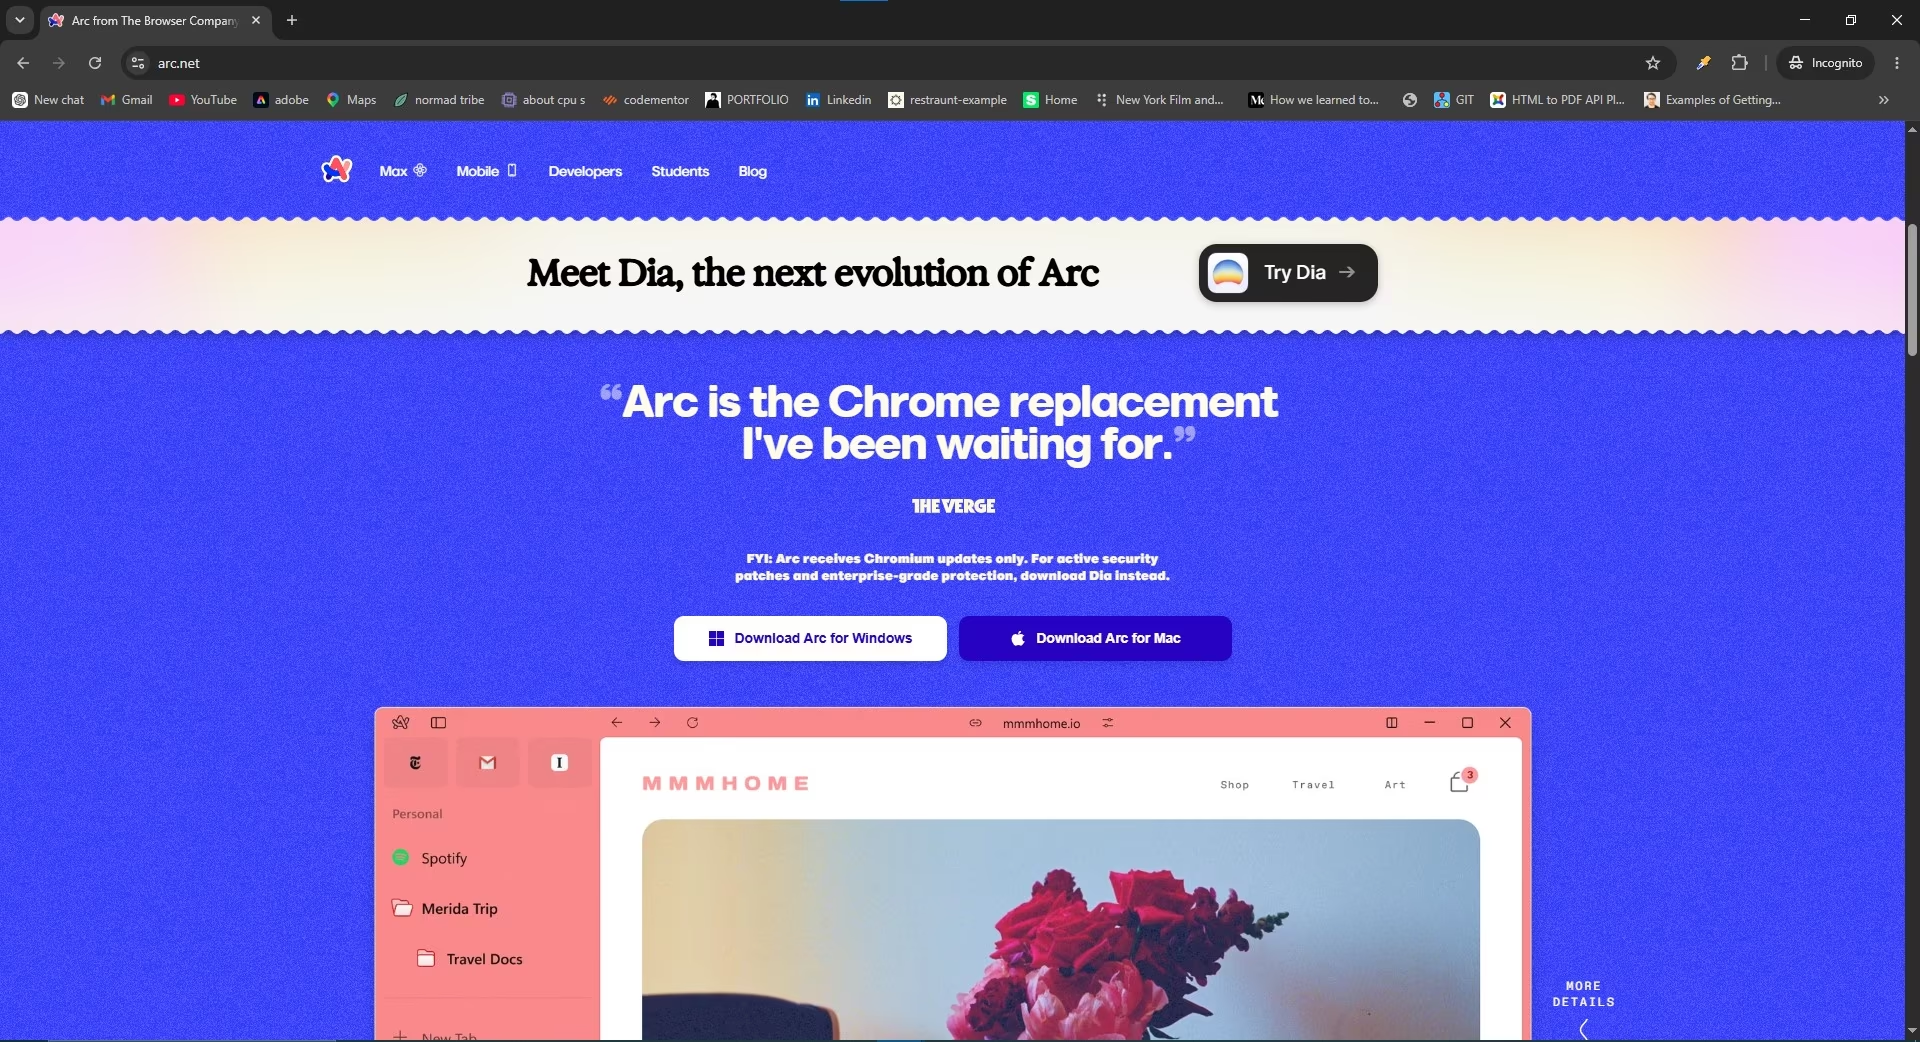
A raw SaaS product recording before framing, visual styling, or zoom has been applied.
There is nothing particularly wrong with it. It is just a screen recording.
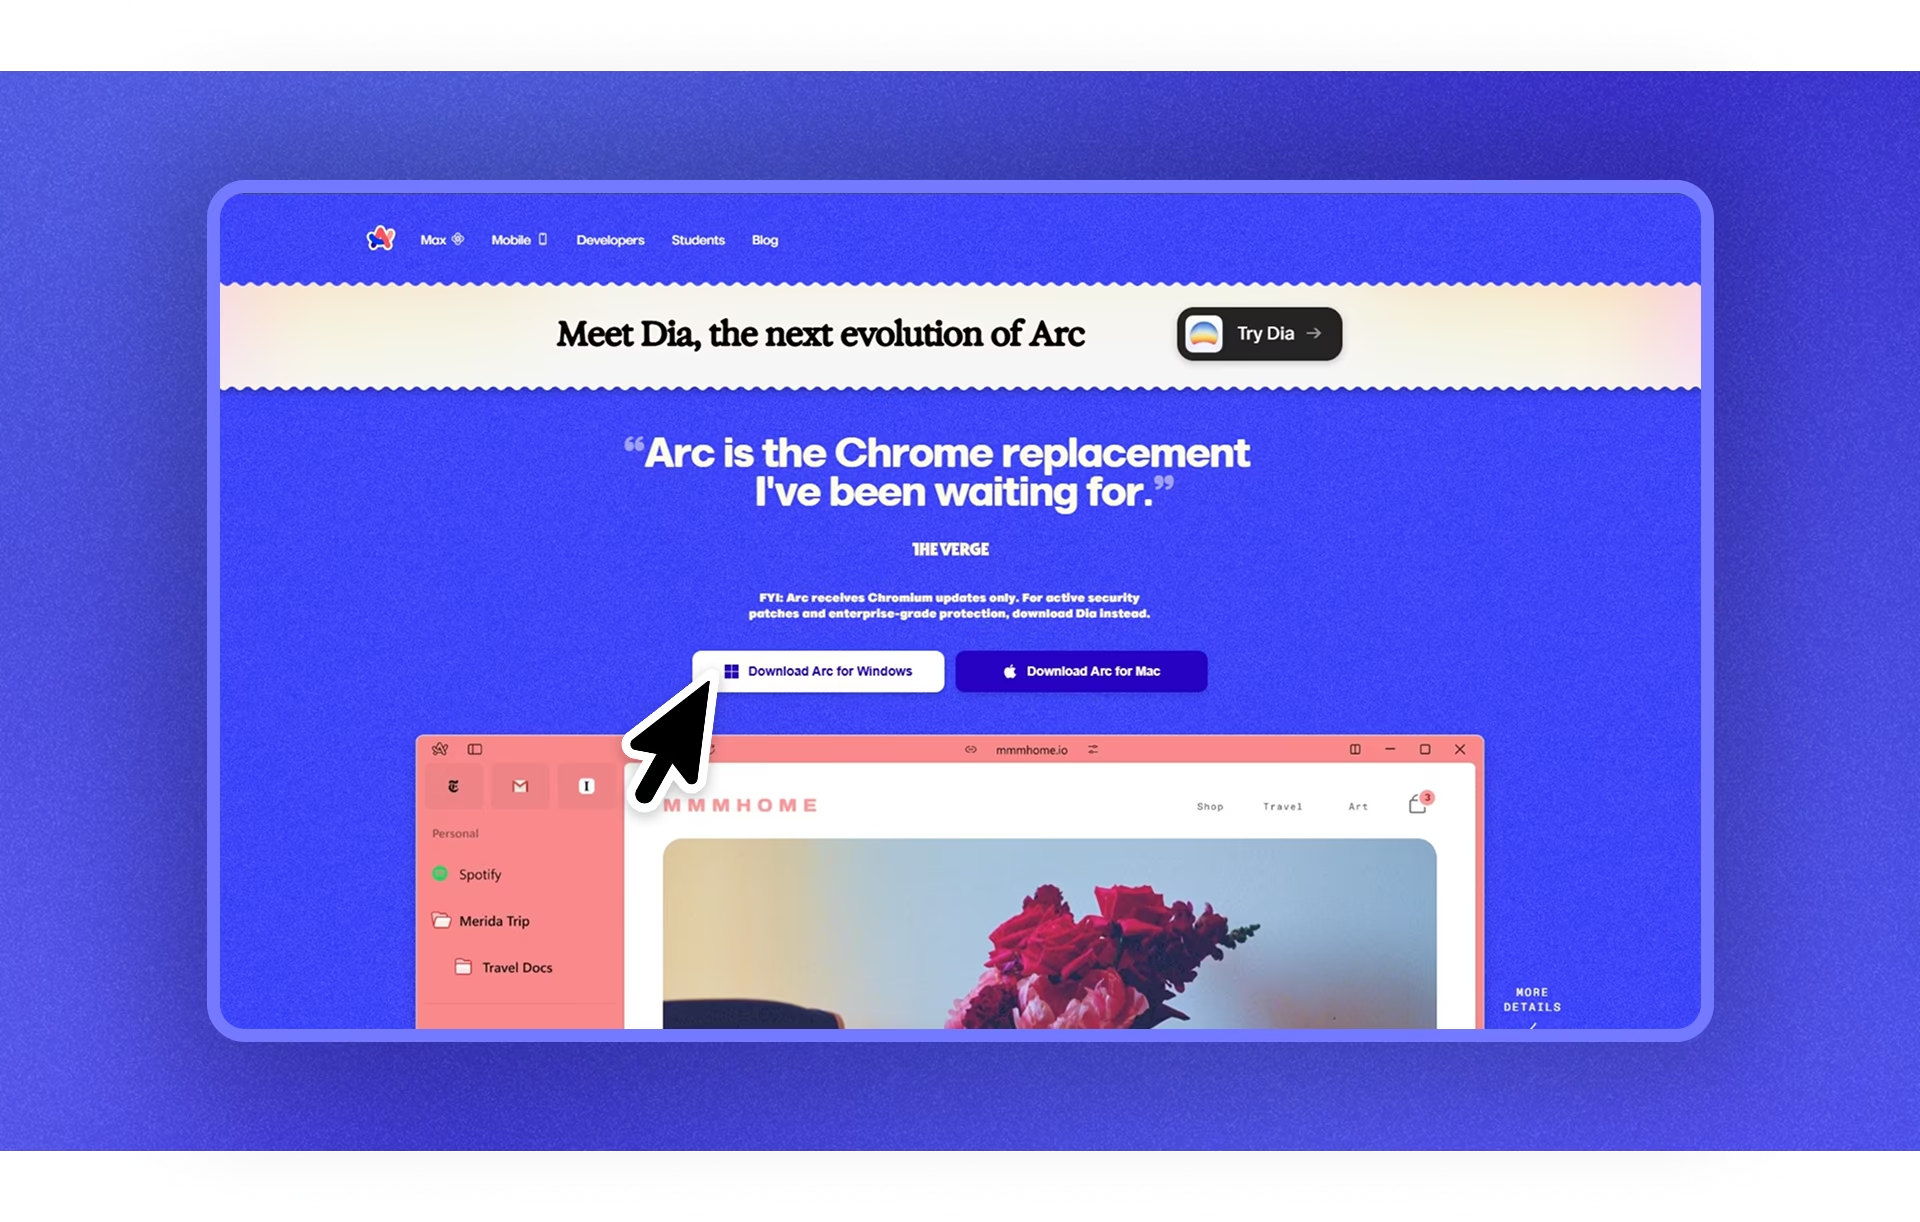
Start by framing the application properly, adding some spacing and a background, cropping away distractions, and smoothing the cursor. Even without auto zoom, the same recording already feels much more intentional.
The recording after framing, cropping, background styling, balanced padding, and cursor smoothing—but before auto zoom.
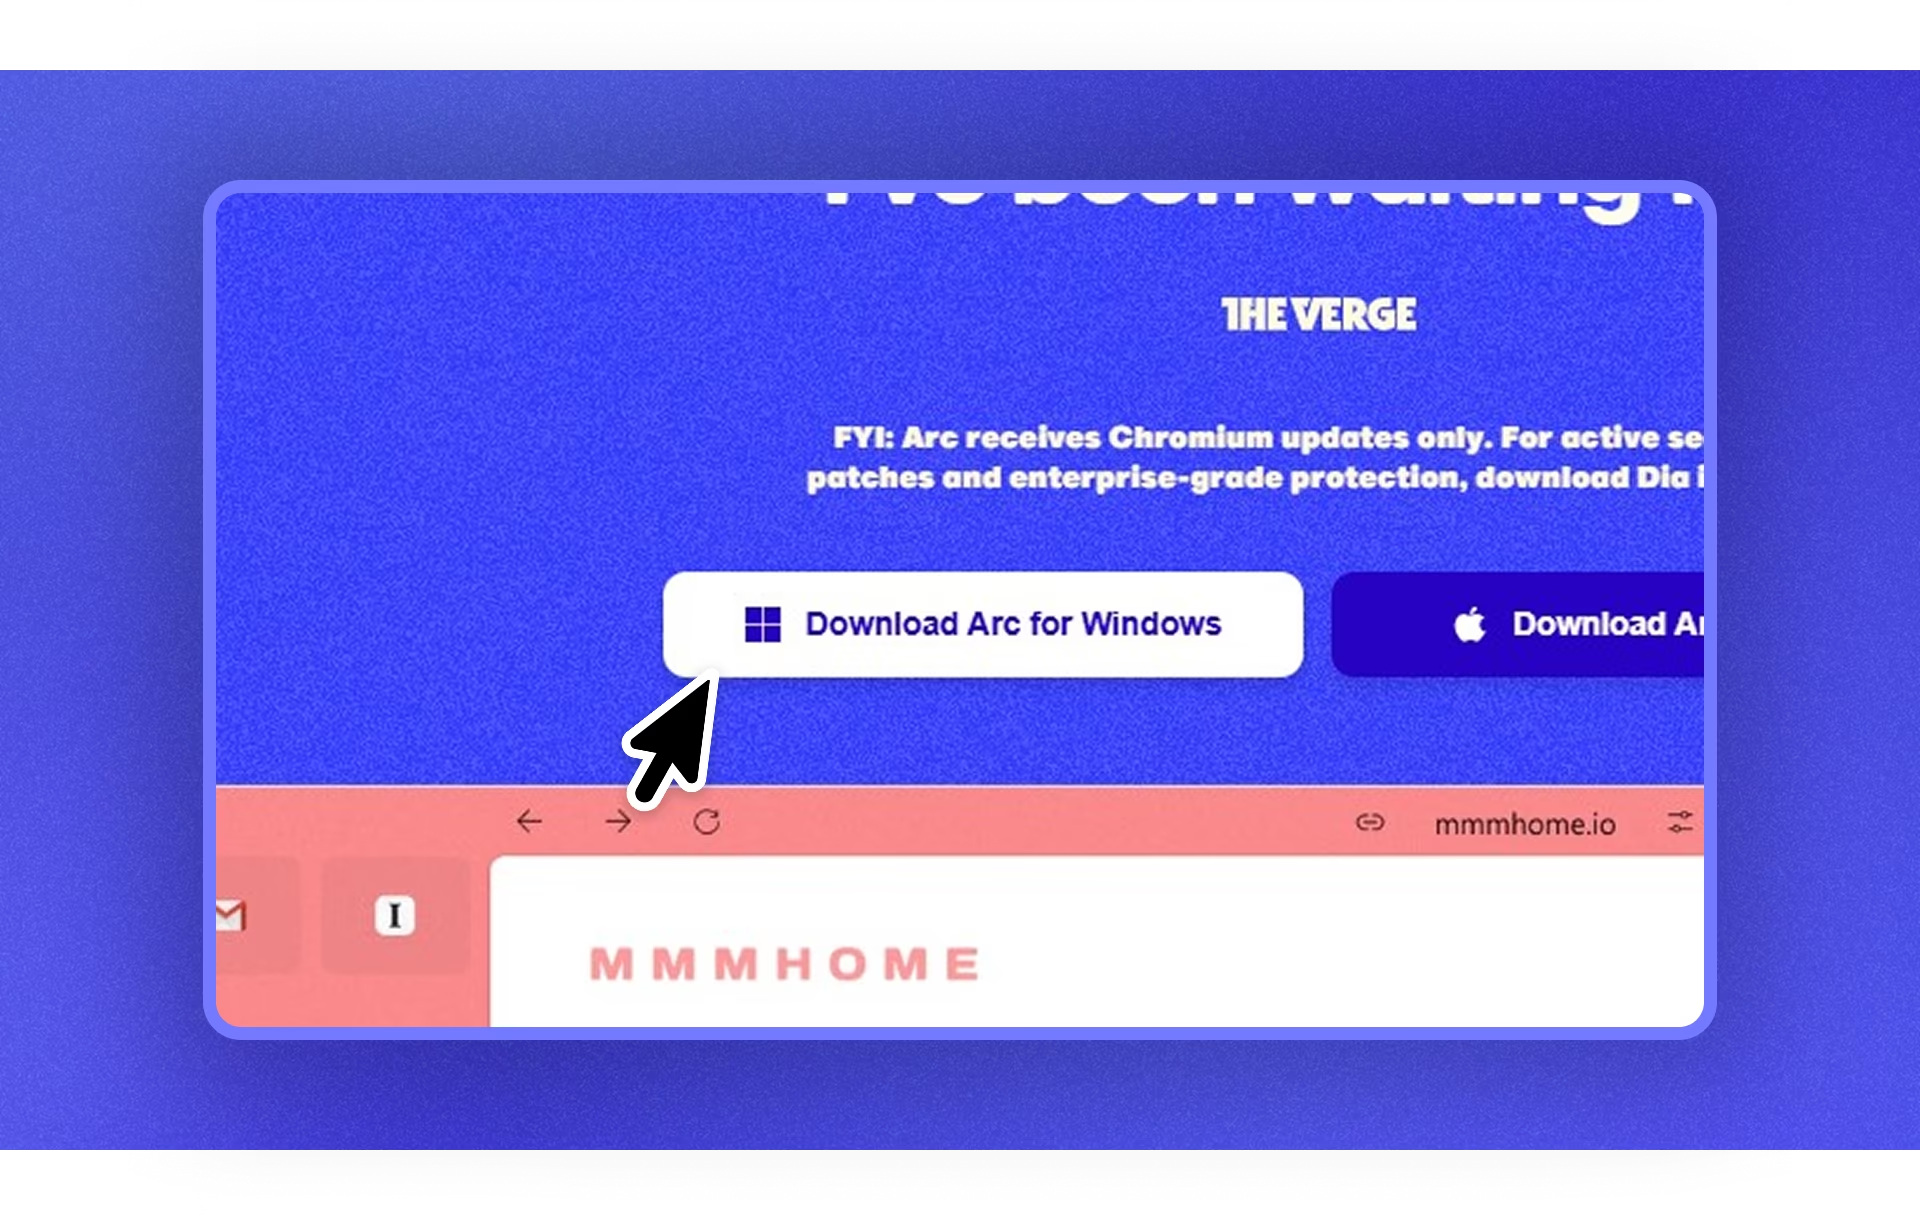
Then add automatic zoom around the interaction, and the viewer no longer has to search the full interface for the part that matters.
The polished SaaS product demo with automatic zoom guiding attention to the active interface area.
The product has not changed. The information has not changed either.
What changed is how the viewer experiences it.
That is basically the reason auto zoom screen recorders exist.
Auto zoom is not really about the zoom
The obvious part is that an auto zoom screen recorder watches where you interact and creates zooms around those areas.
Click a button and the recording can move toward it. Move to another part of the interface and the frame can smoothly follow. When the interaction is over, it can pull back again.
This is especially useful for SaaS because our interfaces tend to be dense.
A settings toggle that is perfectly readable on your 27-inch monitor can be almost invisible when the recording is embedded at 700 pixels wide on a landing page—or watched vertically on someone's phone.
Zooming fixes that, but the bigger benefit is **directing attention**.
You are essentially controlling what part of the interface matters at that moment without having to draw giant arrows everywhere or constantly say, “Look at the button in the top-right corner.”
And auto zoom is usually only one part of the effect.
[Cursor smoothing](/features/cursor), changing the cursor size, cropping the recording, adding a background, adjusting spacing around the window, cutting dead time, and hiding the cursor when it is not needed all make a recording feel less like something captured from your desktop and more like a video made to present the product.
That distinction matters more than adding flashy transitions.
Where auto zoom makes sense for SaaS founders
I would not edit every screen recording this way.
If I am showing a developer a bug in Slack, nobody cares whether the cursor movement is cinematic.
But there are a few places where putting that extra layer of polish on the recording is absolutely worth it.
**Landing-page demos** are probably the most obvious. People are not going to fullscreen your video just to understand your interface. Zooming into the feature you are demonstrating makes the video much easier to understand at the size it will actually be watched.
**Feature announcements** are another good one. If you have spent two weeks building something, dropping a completely raw screen recording into the launch post can undersell it a little. You do not need Premiere Pro-level production, but five minutes of cleanup can make it feel significantly more finished.
Then there are **onboarding videos, documentation, support replies, launch posts, investor demos, and sales walkthroughs**. They all have slightly different audiences, but the problem is the same: you know where to look because you built the thing. The person watching does not.
Auto zoom gives them that guidance. If you are planning a more formal video, our guide to [SaaS product demo software](/blog/best-saas-product-demo-video-software) covers the broader workflow.
You can do all of this manually
There is not anything magical happening here.
You could record your screen with OBS, bring the recording into Premiere Pro or DaVinci Resolve, keyframe the scale and position, animate every movement, fix the cursor, crop it, create a background, and export it.
You will probably have *more* control doing it that way.
The question is whether you actually want to do that every time you ship a feature.
For most SaaS founders, I do not think the editing itself is valuable work. The valuable part is deciding what to show, recording a clear demo, and getting it in front of users.
An auto zoom screen recorder basically turns a bunch of repetitive editing decisions into defaults that you can adjust when necessary.
That is the appeal.
The tools are getting pretty good
Screen Studio is probably the most recognizable example of this style of recorder. It automatically creates zooms around interactions, smooths cursor movement, lets you restyle the recording, and handles a lot of the tedious animation work automatically. The catch for Windows users is pretty simple: it is a macOS product.
Cap is interesting too. It is open source and supports Windows and macOS. One detail that is easy to miss, though, is that while its desktop app is free for personal use, Cap requires a commercial license when the distributed desktop app is used for commercial work—which obviously matters if you are recording videos for your SaaS.
I like that these tools exist because they are solving a much more specific problem than traditional screen recorders.
They are not really competing with the Windows Snipping Tool.
They are competing with:
> “I will record this now and make it look good in a video editor later.”
And usually, “later” means never.
So where does Pane Studio fit?
Here is the thing: I am obviously biased here. I build Pane Studio.
I also tried a lot of these tools while figuring out what I wanted from a screen recorder, and one thing kept bothering me on Windows.
Screen Studio is excellent at what it does, but it is not available there. Some of the alternatives are cross-platform, which is useful, but Windows can feel like just another platform they happen to support rather than the environment the product was designed around.
And with some of the options I tested, especially on more ordinary Windows hardware, the recording or editing experience simply felt heavier than I wanted.
That is a big part of why Pane Studio exists.
It is built specifically for Windows around this style of recording: [record the screen, webcam, microphone, and system audio](/blog/record-screen-webcam-microphone-system-audio); automatically create zooms around what you are doing; smooth the cursor; then make the recording presentable without leaving for a traditional video editor.
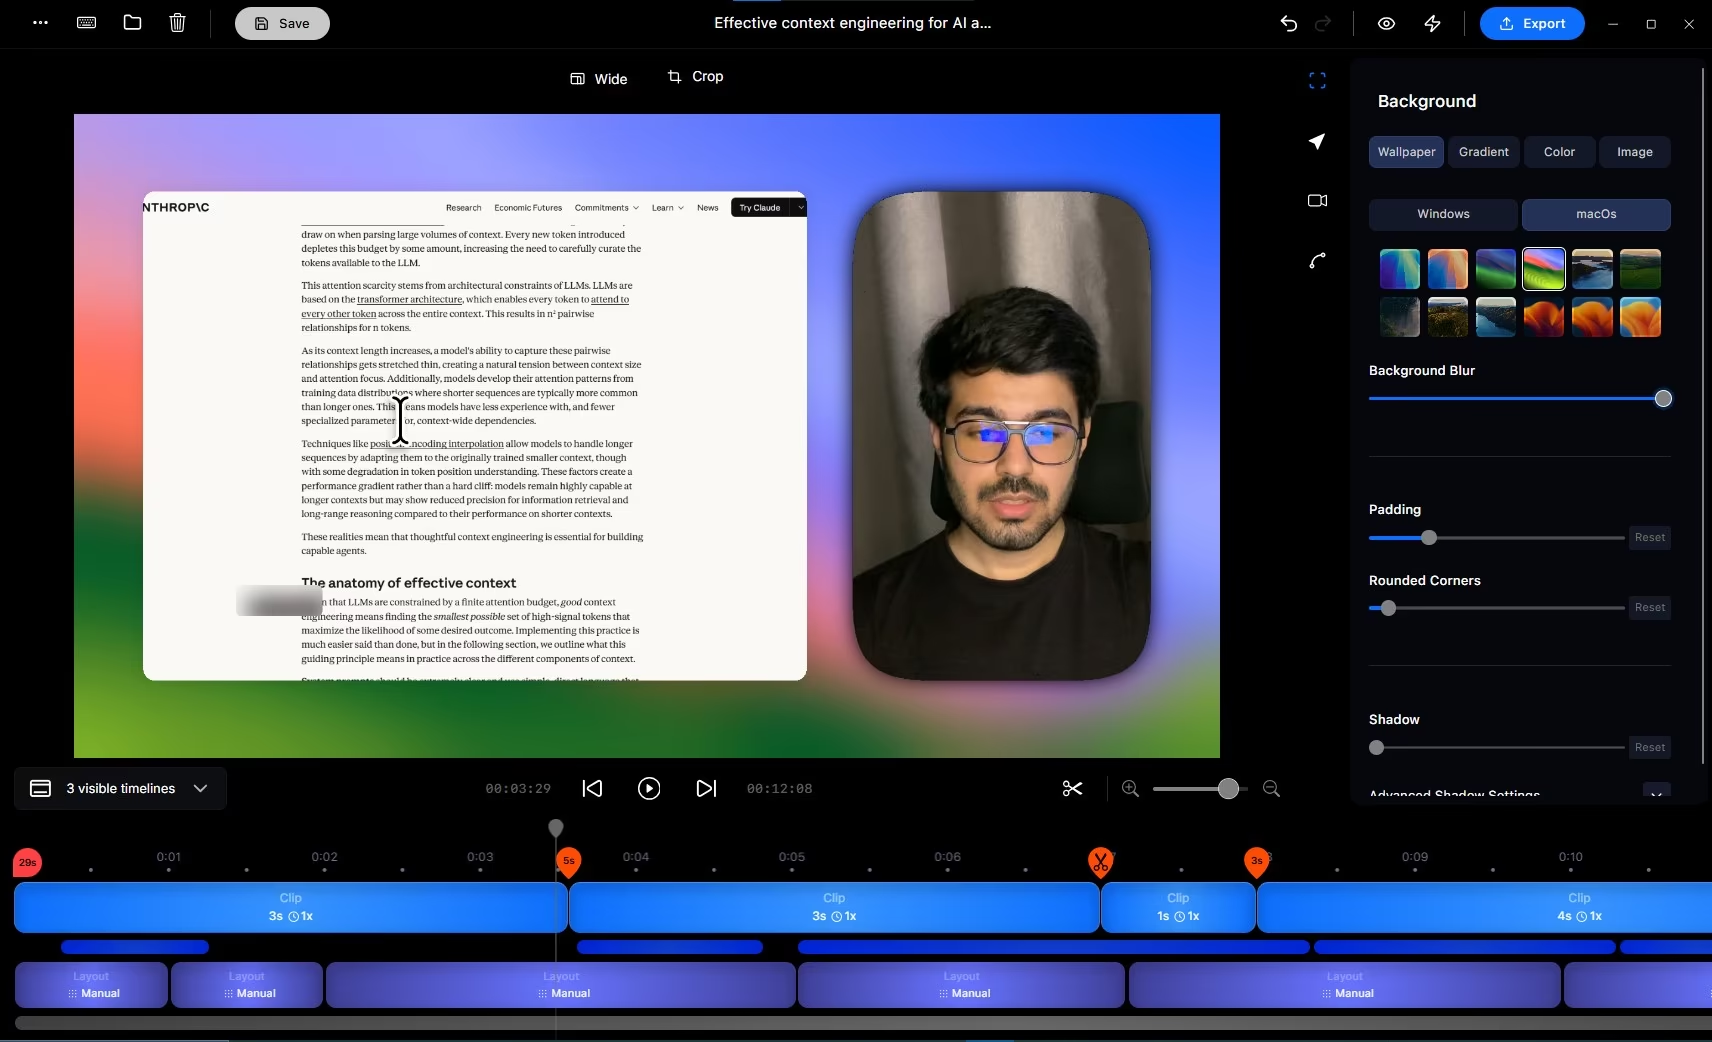
You can change the zooms instead of being stuck with what was generated. You can trim clips, reframe the recording, change the background and spacing, adjust the cursor, blur private information, work with webcam layouts, and export the finished video from the same project.
And because recording and editing happen locally, I also prefer it for demos containing unreleased interfaces, internal dashboards, test accounts, or other things I do not particularly want uploaded somewhere just so I can edit them.
Pane Studio keeps zooms, cursor movement, timing, framing, and visual styling editable in the same local project.
I am not going to tell you it is automatically the best choice because I made it.
If you are on a Mac, Screen Studio is an obvious tool to try. If open source or self-hosting matters to you, Cap is worth looking at. If you are on Windows and what you specifically want is this polished, auto-edited style of screen recording, that is the problem Pane is being built around.
You can also compare the broader field in our guide to the [best screen recorders with auto zoom](/blog/best-screen-recorder-with-auto-zoom).
A good demo should not look over-edited
There is a point where automatic zoom becomes annoying.
If the camera flies toward every single click, your product demo starts feeling like an action movie about a settings page.
The best result is much quieter.
Zoom when the interface would otherwise be difficult to see. Keep the frame still when context matters. Let the cursor guide attention. Cut the parts where nothing useful happens.
The editing should help someone understand your product without making them think about the editing.
That is ultimately what I want from an auto zoom screen recorder as a SaaS founder: **record the product normally, spend a few minutes cleaning it up, and end up with something I am actually happy to put on the website.**
**Want to turn a raw SaaS walkthrough into a polished product demo on Windows?** [Try Pane Studio](/download)